A couple posts ago, we shared some up-close and personal images of yeast cells that we’d been culturing. We’re happy to say that the whole culturing process has been continuing in earnest since then and we are now experimenting with some cool new homebrews with those very strains! Those hardcore homebrewers amongst you will probably be familiar with yeast culture, but we thought we’d share the process we go through to start with a single yeast and end up with awesome beer.
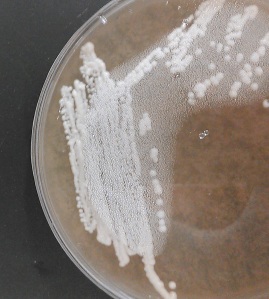
The main goal here is maintain healthy yeast, prevent other creatures from joining the yeast party, and to have enough of them to make your beer. We start with a purified strain and grow it on an agar plate that also has malt extract in it. This gives the yeast a solid surface that they can grow on and also allows us to see if any weird things start to grow on there. It gives us a way to keep the pure yeast in storage for a while (for really long-term storage, we need to cryopreserve them).

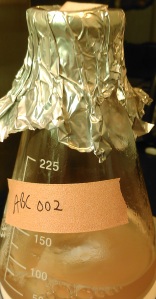
Once it’s time to start growing, we pick a few of the nicer-looking colonies and transfer them to some low-to-medium gravity malt extract wort. These are grown using stir plates to encourage aerobic growth and rapid cell division. We really want to get those cell numbers up quickly and keep the yeast healthy. The other really important thing here is that every material we use is totally sterile up until we pitch. We don’t want any other yeast or bacteria getting in there unless we say so.

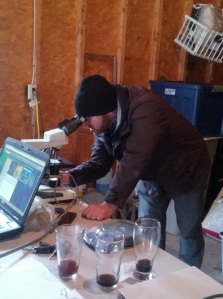
After several 10-fold increases in liquid volume, we finally have enough cells to pitch into our wort. If you buy yeast at the homebrew store, this is more or less the stage you are receiving your yeast in, except they’ve probably been in the fridge for a while, and might take a few hours to “wake up”. Since we are growing these ourselves, we make sure to count them to be sure we have the right amount of cells for the beer we are making.


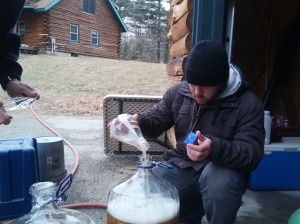
Finally, once we know the concentration of yeast cells, we do a quick calculation and pitch in the right amount of yeast to ensure a vigorous and healthy fermentation.
It takes a few days to go from colonies to pitchable yeast. And even longer, if you include growing the colonies from single cells. None of us are fathers here, but we couldn’t help but feel like we were dropping off our kids at their first day of school as we watched Aeronaut’s own yeast leave the flask for the first time…OK, we’re not that dramatic about it, but we are so proud of those yeast.

